
Using flow triggers
Run flows automatically when new content arrives.
Triggers let you run a flow automatically whenever new content is added to your workspace. Instead of clicking Run each time, you set up a trigger once and Klang handles the rest — every new upload that matches your criteria gets processed by the flow.
Automations are the simpler way to do this now. If all you want is to send a meeting report to Slack, Notion, a CRM or an email address, set up an automation instead. It is a short form rather than a canvas of nodes. Flows are still supported and your existing ones keep running; reach for one when you need several steps chained together, or something automations do not offer.
Create a trigger
-
Open the Flows tab in the left menu
-
Open the flow you want to automate
-
Click Automate
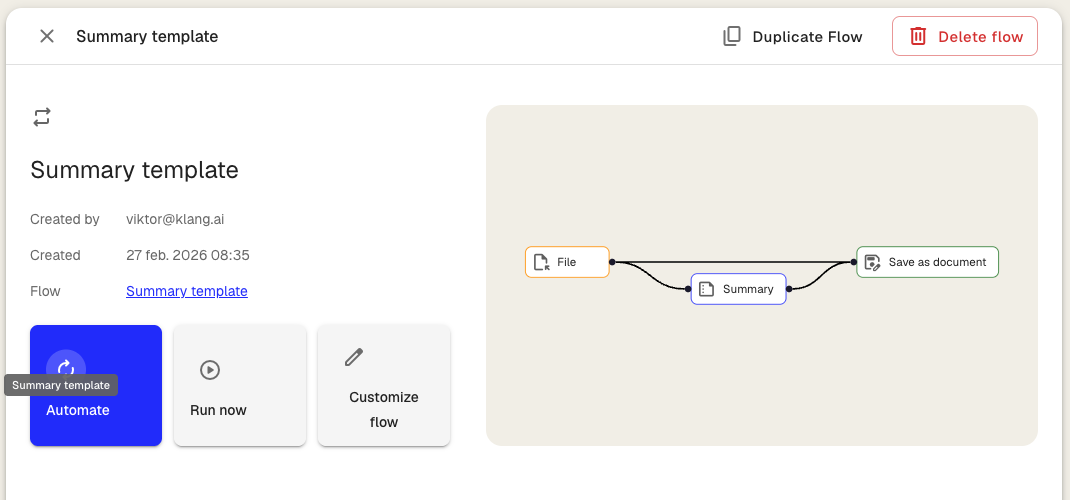
The trigger setup dialog opens.
Configure the trigger
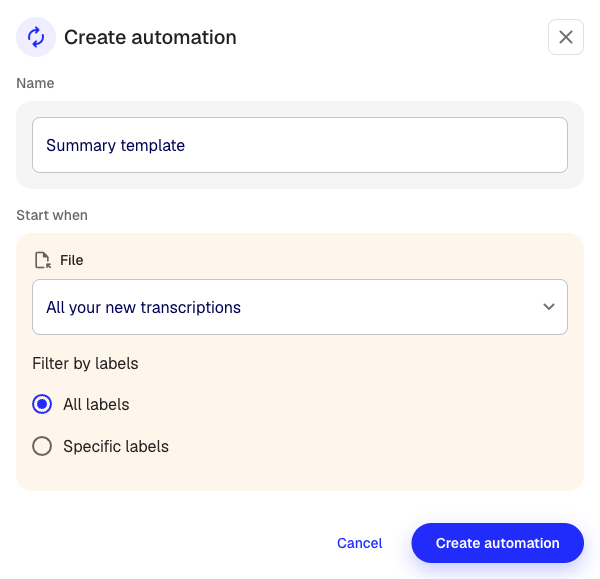
The dialog walks you through a few steps:
Choose what starts the flow
Select when the flow should run:
- All your new files — The flow runs on every new upload in your workspace (transcriptions, PDFs, meetings)
- Uploads in a specific folder — The flow only runs when files are uploaded to the folder you choose
If you select a specific folder, a folder picker appears. Choose the folder you want to monitor.
The folder match is exact. A file that lands in a folder inside the one you picked does not start the flow. This catches people out most often with calendar meetings, which go to your calendar folder rather than wherever you expected.
Filter by labels (no longer supported)
Older triggers could be narrowed to files carrying particular labels. That filter has been retired and the setup dialog no longer offers it.
A trigger saved with one does not run. The next time a matching file arrives, Klang switches the trigger off and records a failed run explaining why, so it fails visibly rather than going quiet.
If you have a trigger in that state, you have two options:
- Open the trigger and save it again. The old filter is dropped, and the trigger runs on everything in its scope.
- Rebuild it as an automation, which can narrow by tag, folder, meeting name, participant or email domain.
Automations are the better answer if the filter was the point of the trigger.
Name your trigger
Give the trigger a name that describes what it does, for example “Summarize client meetings to Slack” or “Export interview notes to Drive”. This name appears in your triggers list.
Configure output settings
If the flow sends results somewhere (Slack, Google Drive, OneDrive, email), you may need to configure those settings in the same dialog. For example, choose which Slack channel to post to or which Drive folder to save in.
Activate the trigger
When you click Create automation, the trigger is created and starts running immediately. Every new file that matches your criteria will be processed by the flow.
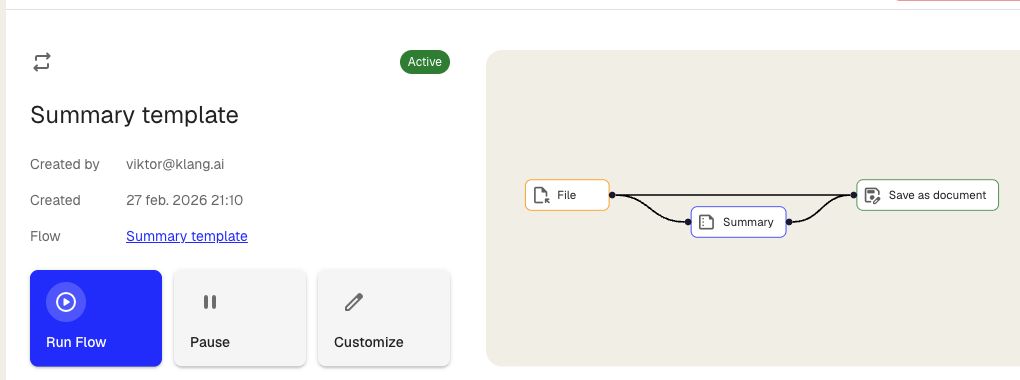
Manage your triggers
View all triggers
On the Flows page, your active triggers appear in the triggers list. Each trigger shows its name, status, and when it last ran.
Pause and resume
On the trigger detail page, click Pause to stop the trigger from running. Click Resume to start it again. Pausing does not delete the trigger or its settings.
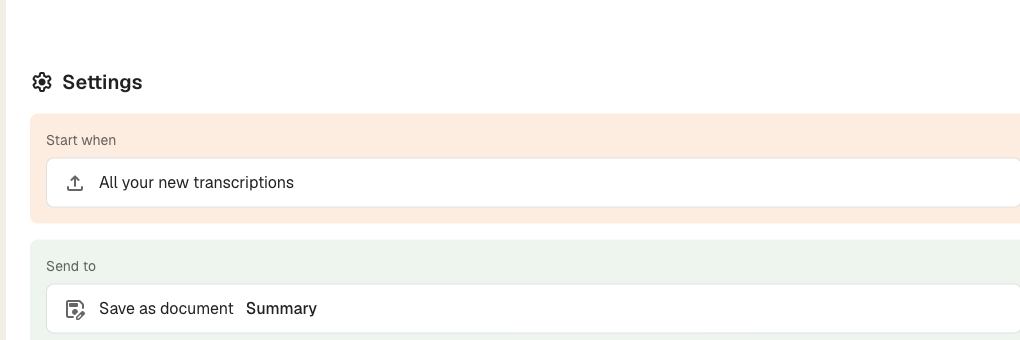
Edit a trigger
- On the triggers list, click the three-dot menu next to the trigger
- Click Edit
- Change the name, folder, labels, or output settings
- Click Save changes
Delete a trigger
- On the triggers list, click the three-dot menu next to the trigger
- Click Delete
- Confirm the deletion
Deleting a trigger does not affect files that were already processed.
Activity log
Each trigger keeps a log of every time it ran. The activity log shows:
- Triggered by — What started the run (upload, specific folder)
- File — The file that was processed
- Destination — Where the result was sent (Slack, Drive, document)
- Started — When the run began
- Status — Whether the run completed, is in progress, or failed
If a run fails, the status column shows the reason. Common causes:
- The workspace has run out of flow credits
- A destination step could not complete. A CRM node with nothing to write to is the usual one: no participant in the meeting matched a contact, so there was no record to attach the note to
- The connection to a service stopped working and needs reconnecting under Settings > Integrations
Tips
- You can only have one trigger per flow. To process files in more than one way, set up an automation for each.
- Triggers use credits each time they run. Make sure your workspace has enough credits for the volume of files you expect.
- If you no longer need a trigger, pause or delete it to avoid using credits on files you do not need processed.
Was this article helpful?
Your feedback helps us improve our documentation.
Suggested Articles

Need more help?
Our support team is here to help you.